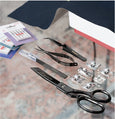
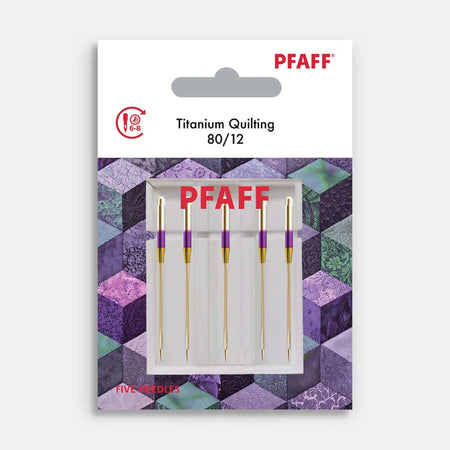
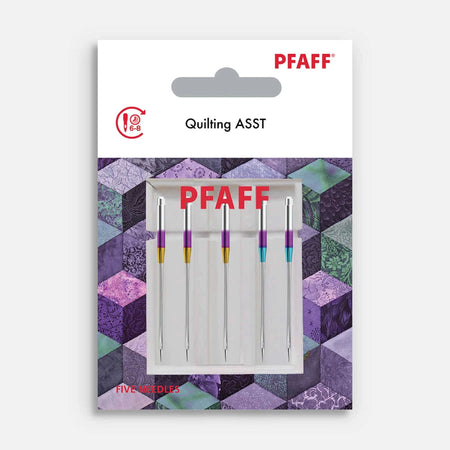
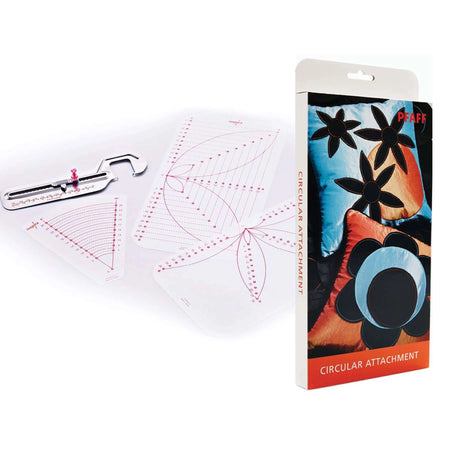
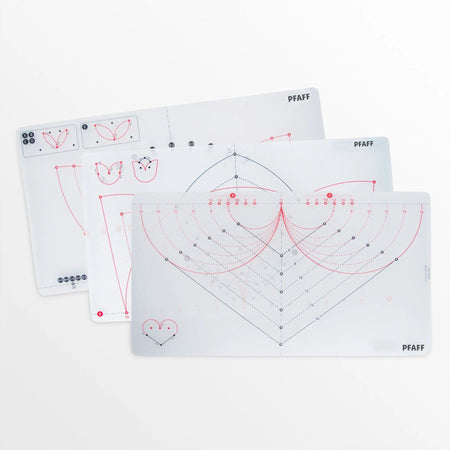
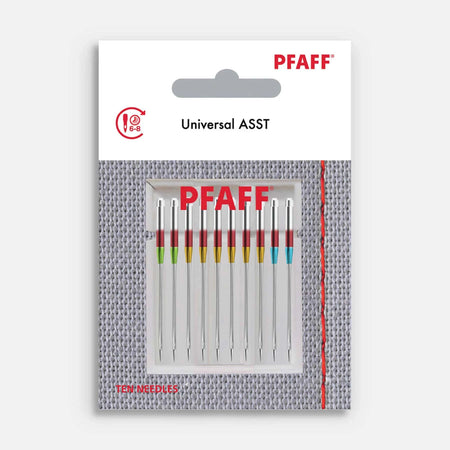
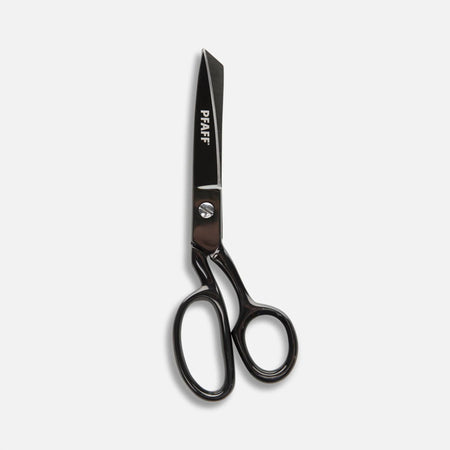
Compatible Accessories
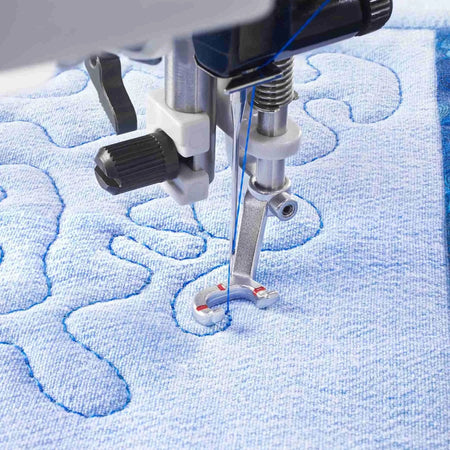

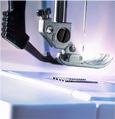
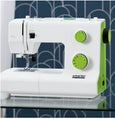
The IDT System Integrated Dual Feed guarantees the optimal fabric feed.
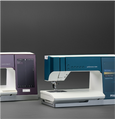
Machine Finder Find the right machine for your project.
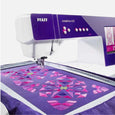
View all machines Explore the latest sewing, embroidery and overlock innovations.